
Server Change Procedure
POS BasicsServer Side:
Make a backup of the current server (if server is online), and clone the backup to the new server
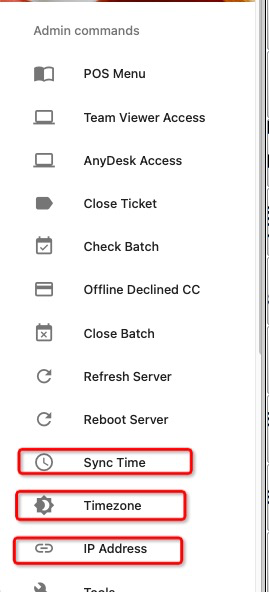
Go to POS access → click on the top left dehaze icon
Change timezone of new server
Sync time of the new server and make sure time is correct
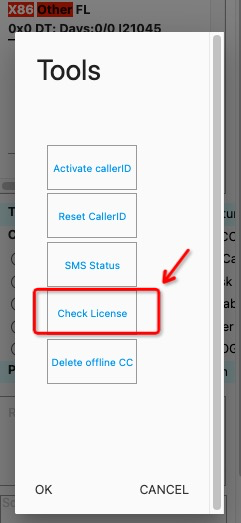
Check License (to
Check IP: Add all static IPs that the old server has (or check all devices and add IP of all network segments in the server)
In POS:
If pictures of the menu are missing, need to check with Lv2 to restore from backup
Re-upload the logo from advanced - Upload files → Logo for receipts (if logo of cc receipt is missing)
Enter a test order to make sure ordering is good (remember to void)
In Portal:
Move merchant info from old server to new server
Move the 3pp business info from the old server to the new server
Ask Finance to update the sitename of the new server with the sitename of the old server (in order for online ordering to work, and to link all history invoices to the new server)
Ask Finance to activate the new server (in order to remove demo mode)
Note: If it is switching from a virtual server to a real server, remember to stop the virtual server from the client computer, and remove the auto start program.
Our 24/7 support team can walk you through it.
Call (888) 355-6996